
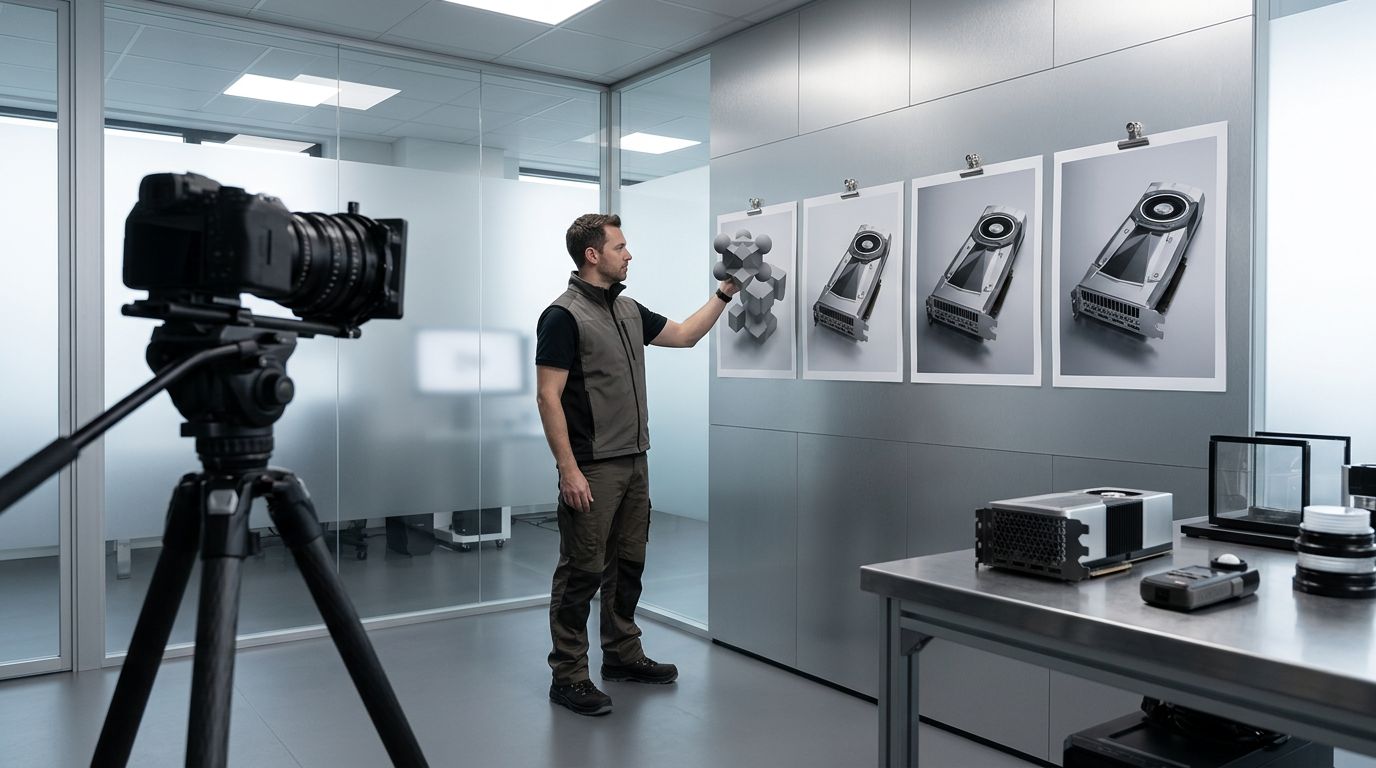
You ask an AI to generate a promotional flyer for a coffee shop, and it hands back a stunning, perfectly lit image of a latte with the shop’s name misspelled and the discount code warped into unreadable alien symbols. The image looks beautiful, but for a professional marketing team, it is entirely useless. How do you stop treating AI image generation like a slot machine and start measuring whether it actually does the job you asked for?
Who this is for
This is for developers, designers, and product managers who want to use AI image models in real production workflows. If you need to generate user interface mockups, create marketing assets, or build virtual clothing tools, this guide will help you measure whether your outputs are actually usable. You should skip this if you only use AI image generators for personal art projects where strict accuracy does not matter.
The goal (what you will have at the end)
You will understand how to build a repeatable evaluation system that automatically tests AI-generated and edited images against strict business rules. You will have a framework to measure exactly where an image model succeeds and where it breaks, using a mix of strict pass or fail gates and numbered quality scores.
What you need before you start
- A clear idea of your specific workflow, such as user interface design or logo editing.
- A list of non-negotiable requirements for your images.
- Access to a vision-capable AI model to act as your automated judge.
- A storage folder to save generated images and their data.
The article doesn’t say exactly how much this costs or how long it takes to set up.


The steps
Step 1: Define your test cases. You need to start by writing down exactly what you want the model to do.
Test case: a specific prompt paired with the exact rules the output must follow, plus any starting images.
A test case needs to be highly specific. For a user interface mockup, the prompt should specify the screen type, required buttons, and exact text. Create a small batch of these cases that cover common variants and edge cases.
Step 2: Set up the runner and storage. You need a way to execute the model calls consistently.
Runner: a script that sends your test case to the AI model and saves the resulting image.
The runner handles the actual generation. You need a structured storage system to save the resulting images along with their metadata. This allows you to look back at exactly what prompt generated which image.
Step 3: Build your gating graders. This is where you separate the usable images from the broken ones.
Gating: pass or fail criteria for non-negotiable requirements like text accuracy or instruction following.
Gating graders act as your first line of defense. If an image fails a gate, it fails the entire test. For marketing graphics, text rendering is a primary failure mode. If the flyer requires the text “20% OFF”, the image must say exactly that. Any missing letters, extra words, or unreadable distortions result in an immediate fail.
Step 4: Add graded metrics for quality. Once an image passes the non-negotiable gates, you evaluate its overall execution.
Graded metrics: numerical scores used to measure subjective quality dimensions like realism or brand fit.
You score these dimensions on a scale from zero to five. For a user interface mockup, you might score the layout and visual hierarchy. A high score means the primary actions are obvious and the information is grouped logically.
Step 5: Write the judge rubric. You need to tell your automated judge exactly how to score the images.
LLM-as-judge: using a vision-capable model to evaluate images based on a structured rubric.
Think of the judge rubric like a grading key for a substitute teacher. It needs to be so specific that there is no room for personal interpretation. Tell the judge its exact role, give it strict scope constraints, and define exactly what a score of five looks like versus a score of two.
Step 6: Run the evaluation loop and tag failures. Run the system to generate images and collect automated scores. When images fail, do not just throw them away.
Failure tagging: the process of categorizing specific errors to identify patterns and drive targeted model improvements.
Assign tags like “wrong screen type” or “text unreadable” to figure out exactly where the model is struggling.
Step 7: Check for non-target invariance in editing tasks. If your workflow involves editing existing images, you must verify that the model only changed what you asked it to change.
Non-target invariance: making sure that unrequested regions of an image remain unchanged during editing.
For example, if you ask the model to change the text on a logo, it must not alter the background color, the spacing, or the geometry of the other letters. Logo editing has zero tolerance for drift.
Step 8: Account for identity preservation. This is critical when working with images of people.
Virtual try-on: an editing task where a garment is digitally placed on a person while preserving their identity and pose.
When applying a jacket to a photo of a person, the system must preserve the wearer’s face, body shape, and pose. It must also preserve the background. The only thing that should change is the clothing.
Step 9: Calibrate with human feedback. Automated metrics measure general rules well, but they can miss specific workflow requirements. Periodically compare the automated judge’s scores against human judgments on a small subset of images. Humans are best at judging subjective dimensions like overall vibe, trustworthiness, and whether an image is actually usable for a professional project.
Common mistakes
Judging images based on visual appeal rather than specific workflow constraints. High visual appeal does not guarantee that an image is usable for professional product workflows. The consequence is that you approve beautiful images that fail to do their actual job.
Averaging scores across metrics. The consequence is that a high score in style can hide a critical failure in text rendering, allowing a broken image to pass your tests.
Neglecting to verify that unedited regions of an image remain unchanged during editing tasks. The consequence is that you accidentally alter a brand asset or a person’s identity while trying to make a simple change.
Using vague or imprecise prompts in the evaluation rubric for the automated judge. The consequence is that the judge will guess your intent and provide inconsistent scores.
Failing to account for identity drift in tasks involving people. The consequence is that the clothing looks correct, but the wearer’s facial identity or body proportions are warped, ruining the trust of the user.
Overlooking small artifacts that break professional usability. The consequence is that a logo edit might look fine at a glance, but a slight drift in geometry or character style makes it unusable for a real brand.
A quick checklist
- Identify your specific workflow and use case.
- Define the non-negotiable pass or fail requirements.
- Create a small set of test cases covering common variants.
- Set up a storage folder for generated images and metadata.
- Configure a model runner to call your image service.
- Write a detailed rubric for your automated judge.
- Run the evaluation loop and collect the scores.
- Review failures and assign specific error tags.
- Calibrate the automated judge with periodic human review.
Practical next step
Pick one specific image generation or editing task you do frequently. Write down three non-negotiable pass or fail rules that an output must meet to be considered usable.


